
Our baby is on its way and my nursery and her room is almost ready. I think it is perfect and first of all because everything in it is made with love. Soon I will make a whole post with the room, but until then I want to show you some of the decorations that I made with my own imagination, hands and with the help of internet.
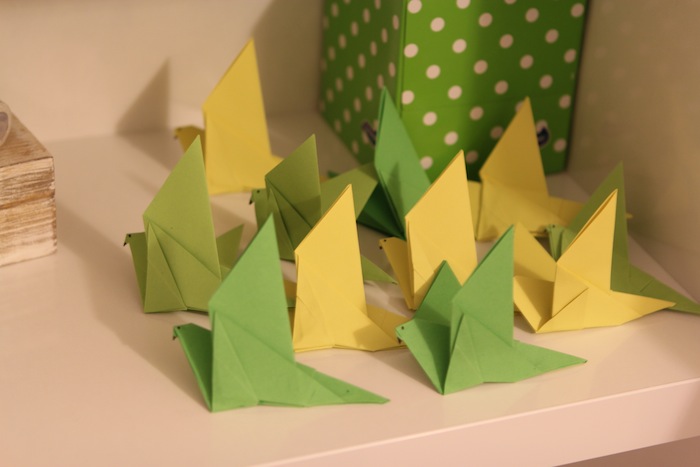
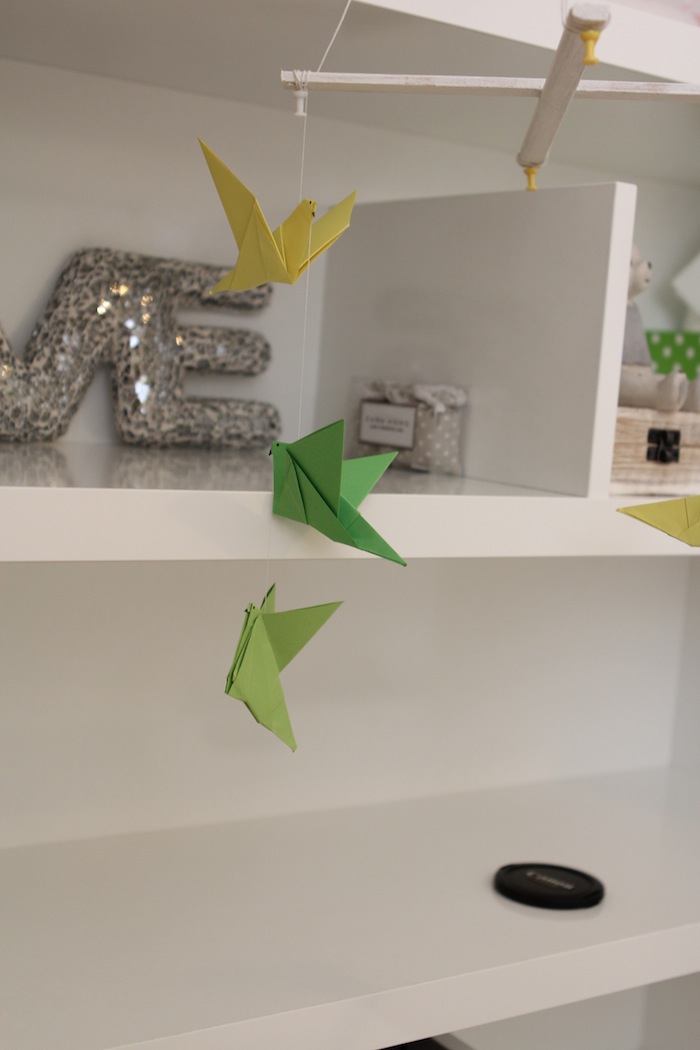
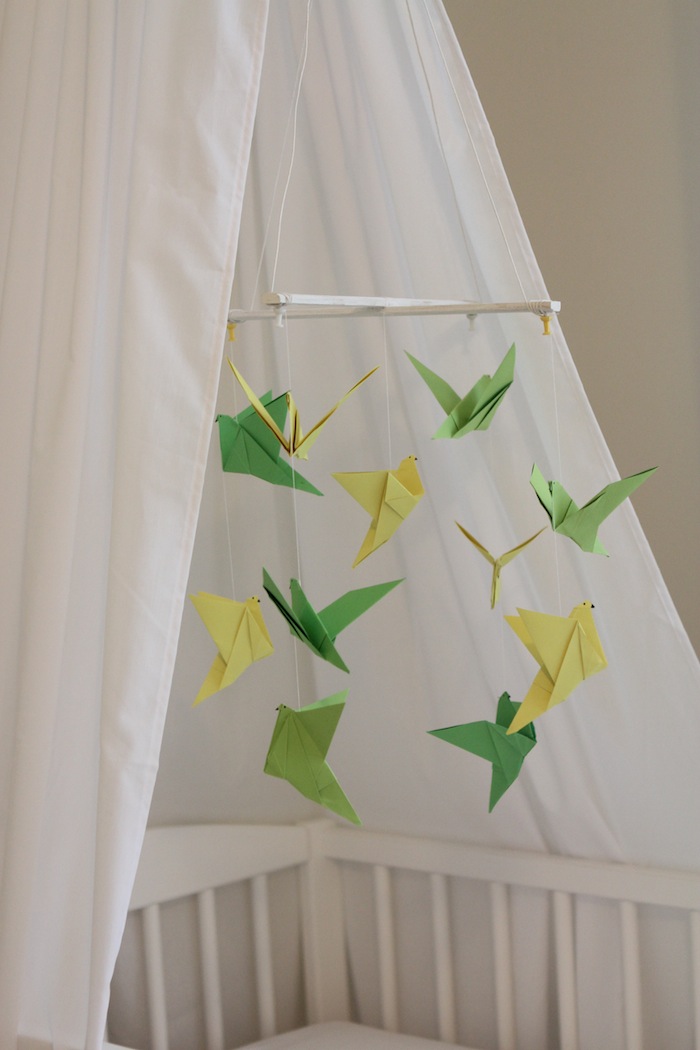
I wanted to make her some origami birds from my fav colors and as it seems, from the first colors a baby can really see: yellow, green and lime.
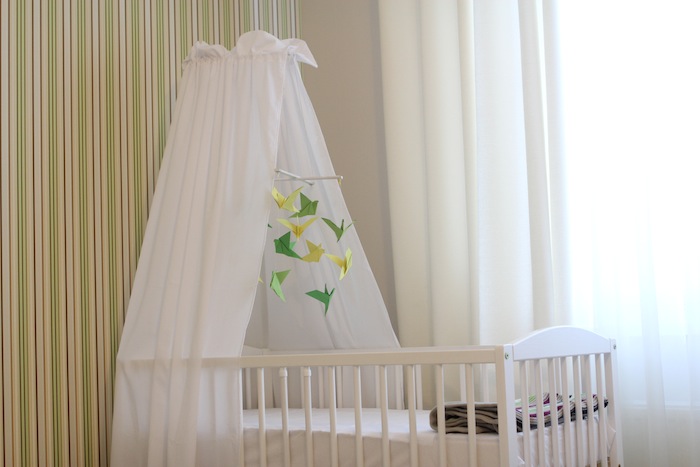
The hanging origami birds create a really pleasant atmosphere in her room and goes perfectly with the rest of the room. You will get to see the room in another post.
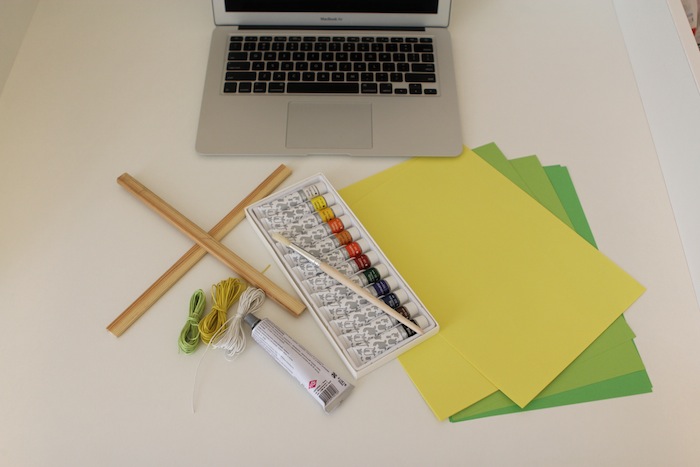
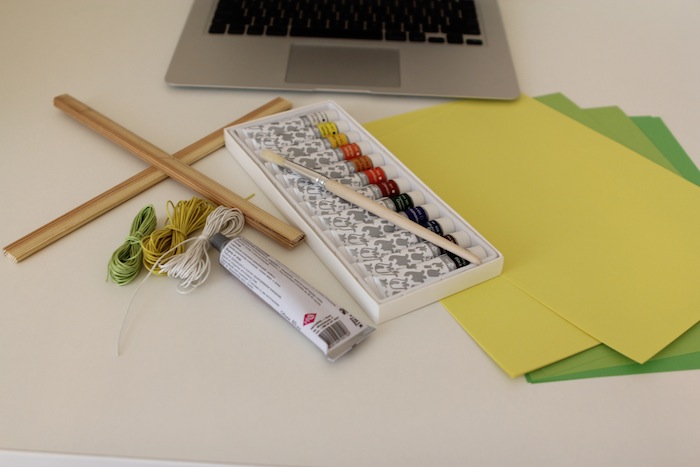
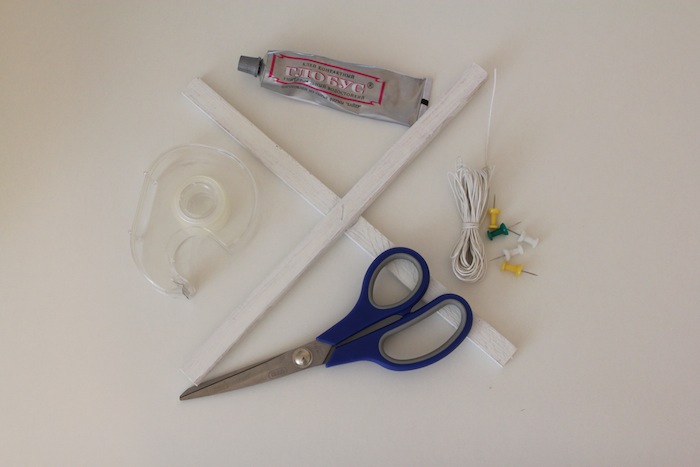
Until then, all you need for your hanging decoration of origami birds is:
– special paper for origami (in your favorite color)
– glue
– a ruler
– a pencil
– scissors
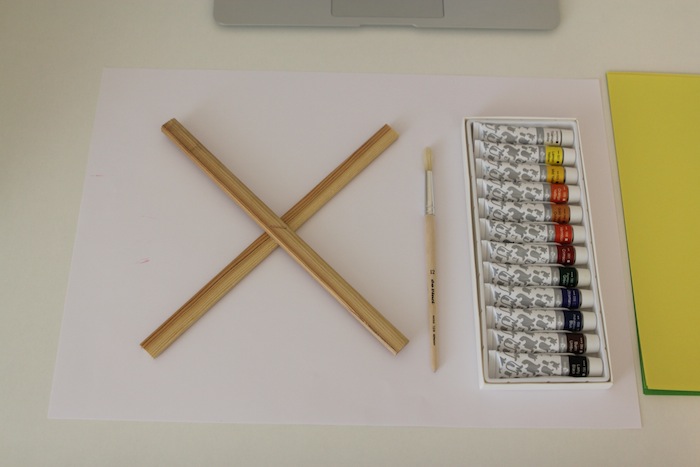
– a support from which you will hang the birds ( in shops you can find special round supports, but mine is made from two pieces of wood at a local portrait store and looks like a cross)
– a string ( in what color you like)
– paint ( I bought mine to color the wooden support)
– a brush
[RO] Timpul aproape a sosit, iar ea este nerăbdătoare ca si noi să vie pe această lume. Camera ei, de altfel este aproape gata si mi se pare perfectă, în primul rînd pentru că este făcută cu multă dragoste. Vă pregătesc o postare întreagă curînd despre camera ei, mobilă, pătuc, decorațiuni, absolut totul.
Pînă atunci, însă vreau să vă arăt unul din decorațiunle făcute de către mine pentru pătucul ei. Am hotărît să-i fac ceva frumos si jucăus cu mîinile mele, care ar înveseli-o cînd o să se uite în sus si care îi va aduce culoare în cameră. În plus, culorile galben, lime si verde sunt printre primele pe care un copil poate sa le vadă.
Tot de ce aveți nevoie pentru a crea acest decor cu păsări din origmai este:
– hîrtie specială pentru păsărele (în magazinul “Azur” de pe Sciusev aproape de Puskin găsiți cea mai mare variație de astfel de hîrtii)
– clei
– riglă
– creion
– foarfece
– suport pentru păsărele ( tot în “Azur” găsiți suport rotund special pentru asa tip de decorații, eu însă l-am făcut pe al meu într-un atelier de rame pentru că îmi doream să fie anume în formă de cruce si din lemn)
– ață colorată groasă ( tot în “Azur” am gasit-o)
– vopsea ( mie mi-a trebuit pentru a vopsi suportul din lemn)
– perie pentru vopsea.
Now see the steps of how I made all these happen:
[RO] Acum vedeți mai jos cum am făcut eu acest decor pentru pătuc:
1. First, I colored my support in white for creating a nice texture.
[RO] În primul rînd, mi-am vopsit suportul în culoarea albă pentru a-i crea o textură interesantă.
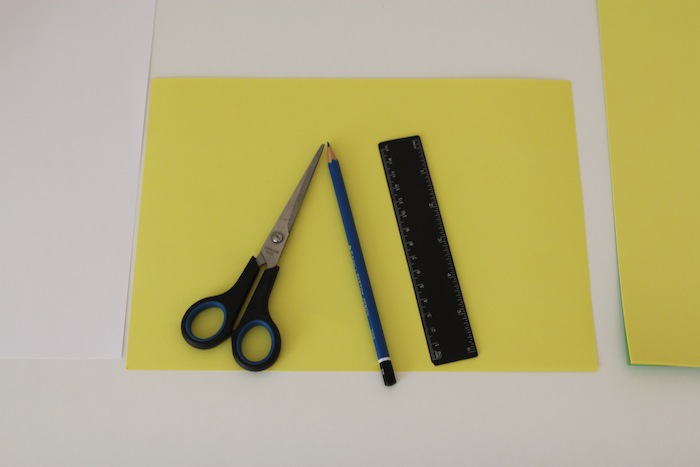
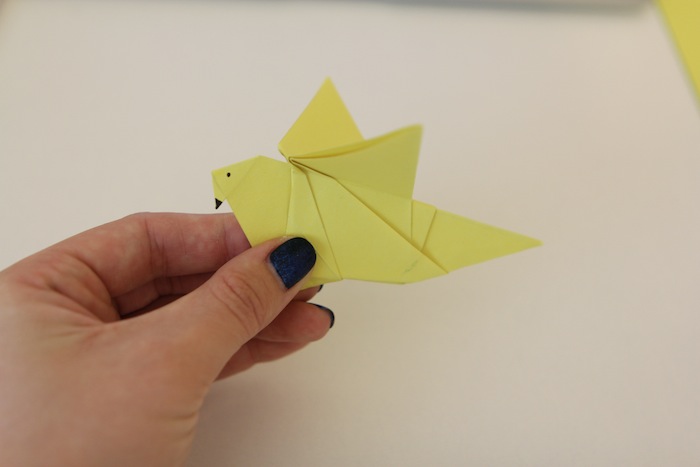
2. Then, using this video from youtube, I made my origami birds in three colors: yellow, lime and green. The most important thing for making the birds is having your paper square ( mine had 15/15 cm). If you don’t have square paper, just make some by using your ruler, pencil and scissors.
[RO] Apoi, urmărind cu atenție acest video de pe youtube, mi-am creat păsările în trei culori: galben, lime si verde. Cel mai important lucru în crearea acestor păsări este că hîrtia trebuie să fie pătrată ( la mine era de 15/15 cm). Dacă nu aveți hîrtie specială, atunci făcețile din alea pe care le aveți folosing rigla, creionul si foarfecele, cum am făcut eu.
3. With the help of glue you can fix the birds bodies if you like and with the help of the pencil you can create eyes and the beak.
[RO] Cu ajutorul cleiului puteți fixa corpul păsărilor unde este nevoie, iar cu ajutorul unui pix puteți să-i desenați ochi si cioc, cum am făcut eu.
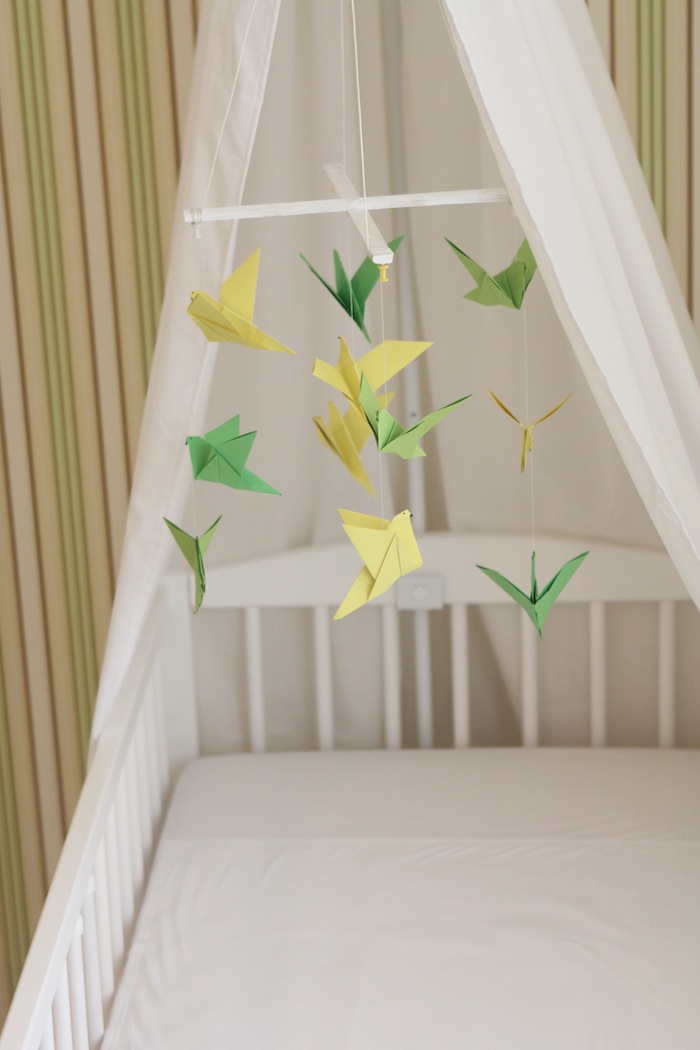
4. After your support is ready and you have the birds, by using the string you can create your hanging decoration. Use your imagination.
[RO] După ce vi s-a uscat suportul si păsările sunt gata, cu ajutorul aței groase vă puteți crea suportul de care se va ține toată decorația. Folosiți-vă imaginația.

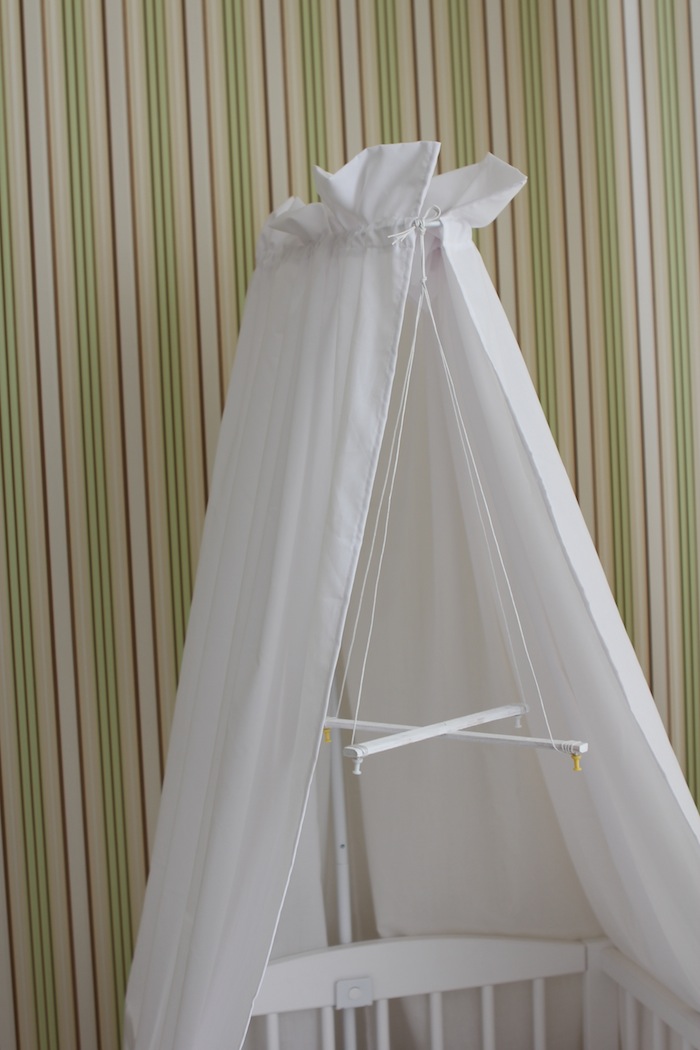
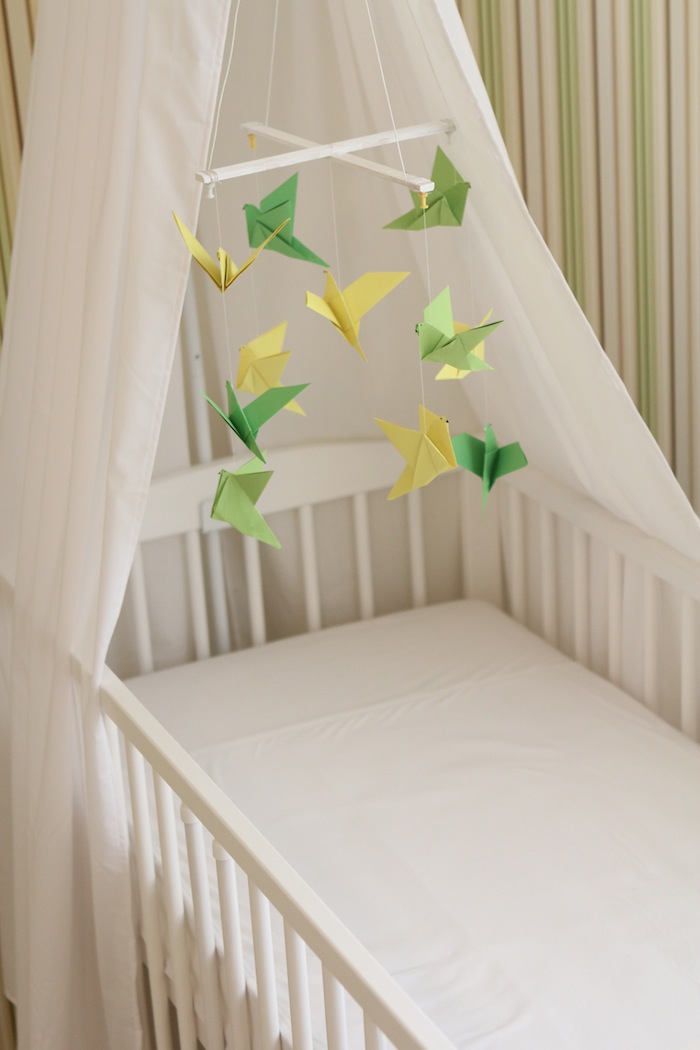
5. Using a needle and a string attach your birds one by one and hook them by your support. I put three birds from different colors on one side. Just make it playful as you like it more. Be patient here, because it is not as easy as it looks to make.
[RO] Cu ajutorul unui ac si ață am prins cîte trei păsări de diferite culori si le-am aninat de o parte a suportului. Aici în mare parte trebuie să vi le agățați cum vă place vouă mai mult. Anume la această etapă, mi s-au uscat creierii si m-au apucat toți nervii, pentru că credeam acest lucru usor de făcut. Nu este chiar asa. Dar, cu răbdarea, treci si marea,nu?
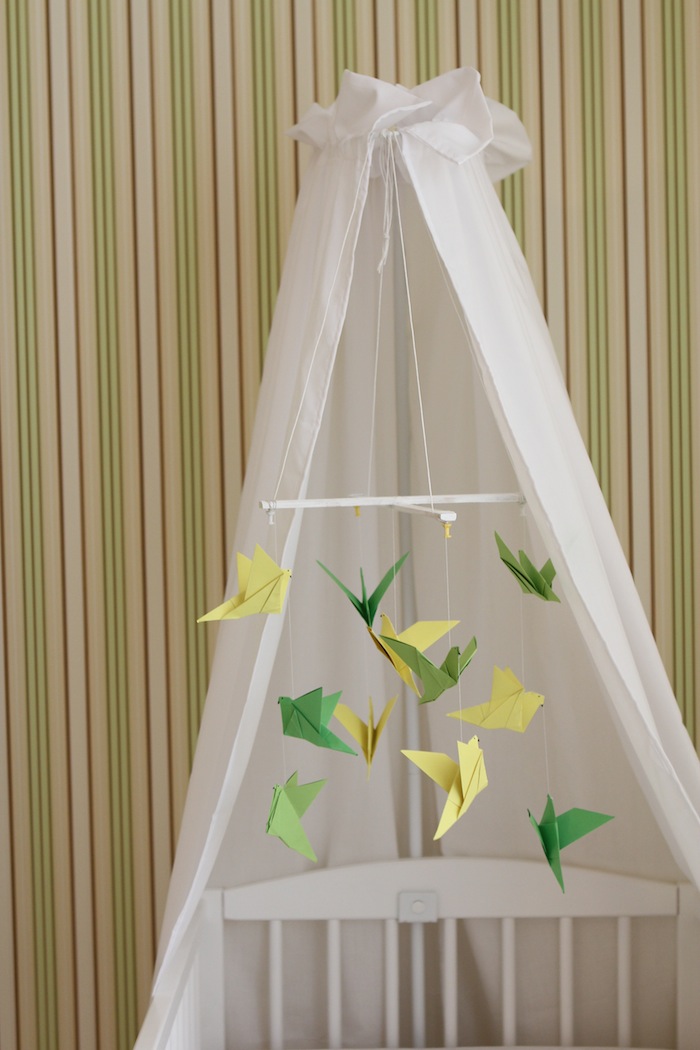
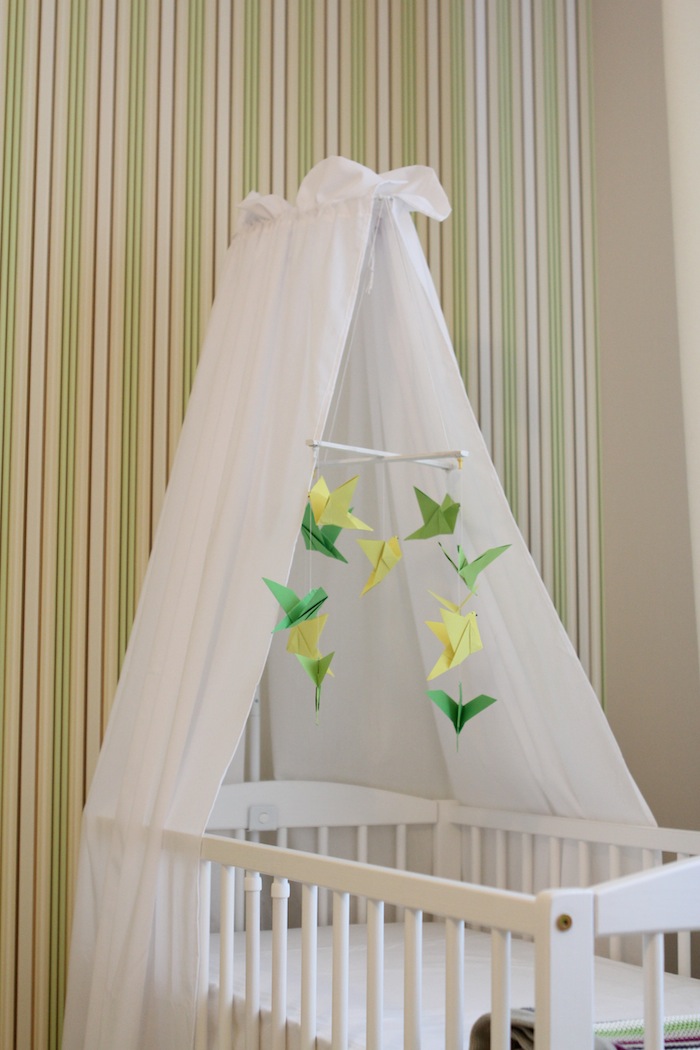
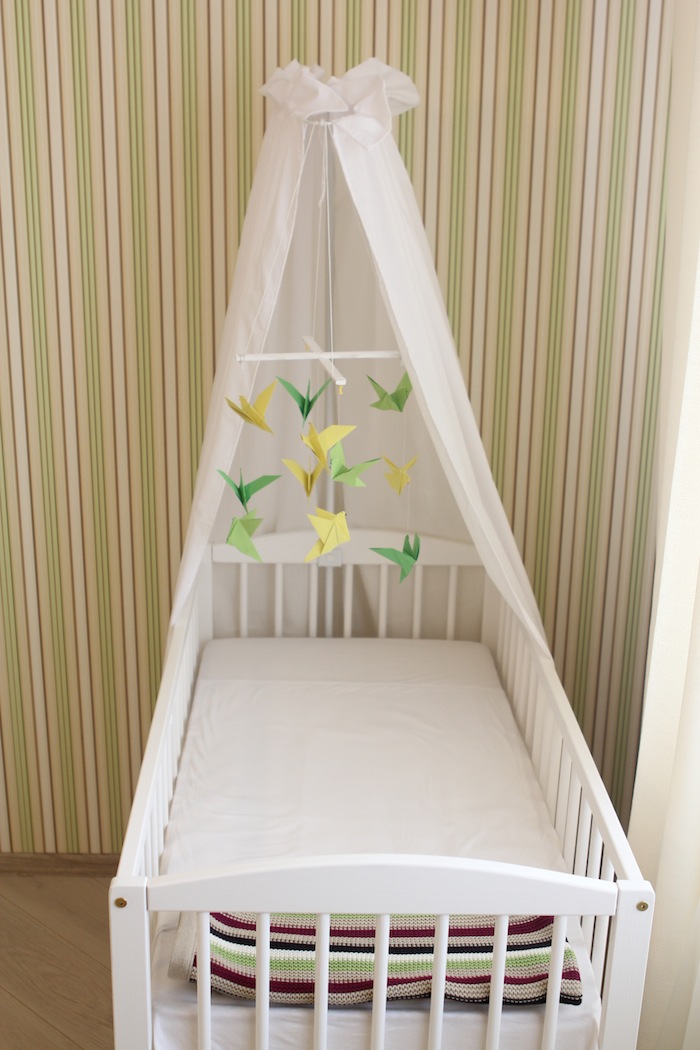
6. After it’s done just hang the whole decoration by your baby’s bed. Take care and hang it tight.
[RO] După ce este gata, aninați toată decorația de suportul special deasupra pătucului. Aveți grijă să-l prindeți strîns.

5 Comments